Sometimes, you just have to break the seal.

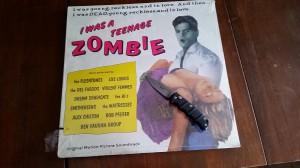
So, I’m not sure what ever prompted me to buy this album.  Undoubtedly, it was one of the DJ’s over on RealPunkRadio.com.  But I felt the need to buy it, so I did.  When it arrived, I was not prepared for it to be factory sealed still.

That would be, Factory sealed since 1987. This record was pristine, a virgin, if you will.  Back in the day I would have ripped the plastic off like a college boy taking the wrapper off a condom.  But this gave me pause.  It’s not that I thought it had any real collectors ‘value’, nor would I really care.  It was just the fact that opening a 27 year old record, just seemed to be a little daunting.

Fortunately for me, A podcast I listen to, Red Red Wine on a Sunday may want to include one of the songs on his podcast.

So, I busted the seal and ripped that vinyl to digital today, and it felt good.  That record had all the musty dankness of a record that had been stored in someones deep dark basement for all of those 27 years.

And yet, it played perfectly.

IWasATeenageZombie

German Pils Update

Been a while since I posted, but I have to say, the german pils I SMaSH I have in the fermenter is coming along quite nicely.  Well, It’s probably just a touch strong for a pils, at 5.5%abv, but I hit the target og and target FG dead on, so that’s a good thing.

The dry hopping with Hallertauer is working nice and it’s got a nice clean flavor profile so far, and a fairly clear straw color.  Just need to lager a while for it to clear up.

Hot days of summer, I’m ready for you.

2.25 sq Foot Gardening Separator and watering system

So, The whole square foot gardening method is very popular.  I really like the idea of it and gave it a shot last year.  For whatever reason, We just found the 12″ squares were a little small for our liking.  So we made ours just a little bit bigger, and that’s why it’s called 1.5′ Squared gardening, or 2.25 square.

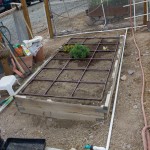
Anyhow, putting in drip irrigation in these things can be a little challenging, so I thought, why not make the grids do the watering?  So I’ve made some out of PVC tubing and fittings and drilled 1/16″ holes in the tubes. to let the water out.

I’m no hydraulic engineer, but it works pretty good.  With the water running full blast, all the holes have just enough pressure to squirt out a few inches, but not under so much pressure to be damaging.  A minute or two of running does a great job of evenly watering the whole bed right at ground level.

Step 1: Cut the tubes

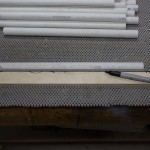
Cut out 45 sections of 1/2″ PVC tube 14″ long.  Why 14″?  Well It worked out just right in my 4’x8′ raised beds with a little extra room.

Step 2: Mark a Guide Line

Mark a straight line on each of the cut pieces.  We will be using this as a guide when we drill the holes to make sure they are all lined up right.
20140518-IMG_0909

Step 3: Drill baby Drill!

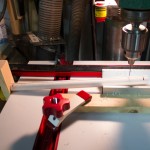
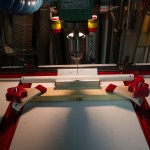
Time to drill some holes.  Here’s where it gets tricky, 18 of these will get holes on only one side, 27 will get holes drilled all the way through.  I made a mark on 18 of them to let me know they should only get drilled on on side.

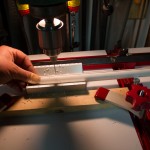
I used a v-block on my drill press to make sure that I drilled right in the center of the tubes,

So, Go ahead and drill the holes 1/2 through on 18, and all the way through on the remaining 27.  Make sure you keep them separate!
 

20140518-IMG_0912 20140518-IMG_0911 20140518-IMG_0910

Step 4: Get your parts together

You’ll need 4 1/2″ pvc 90’s, 10 1/2″ pvc crosses, 1 1/2″ slip fit pvc Tees, and 1 1/2″ Tee with a fip fitting on the tee, and slip on the sides.

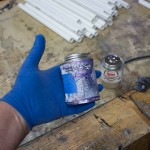
You’ll definitely want to have gloves on when working with PVC Primer and Cement.  It’s messy stuff, so make sure to do it somewhere you can get messy.

Go ahead and prime all your tube pieces and connectors.

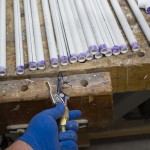
It doesn’t hurt to give everthing a blast with the air hose to get any little bits of plastic that could clog your holes.
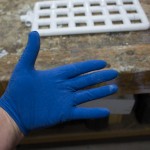
20140518-IMG_0916 20140518-IMG_0917 20140518-IMG_0918 20140518-IMG_0919

Step 5: Glue it up.

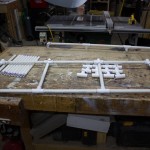
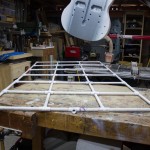
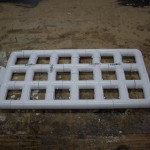
There’s no way to get around it. This is tedious, and you need to make sure you get it right.  PVC glue is unforgiving after it sets.  Make sure to put plenty of glue on both sides of the piece to make sure you have time to twist the tubes so the holes line up the right way.

Also make sure that you put the parts together right.  The pieces with the holes on only one side go around the outside with the holes pointing in..

One tip is to use a flat surface when starting to make sure you get the fittings lined up parallel to each other.

I don’t have any other tips other than take your time, think about what type of tube goes where and make sure you get the holes pointing the right way.
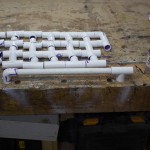
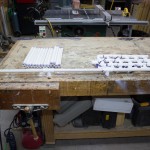
20140518-IMG_0922 20140518-IMG_0923 20140518-IMG_0924 20140518-IMG_0925

Step 6: Protect it!

I like to put a coat of brown spray paint on it to protect the pvc from the sun and to make it blend in to the garden a bit better.
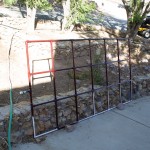
20140518-IMG_0926 20140519-IMG_0927

And that’s about it.

If you made it this far, here’s a little video showing how it works. Please ignore the artichokes, they were badly mistreated by me and should have been in the ground a while ago.
Getting the plants in the ground

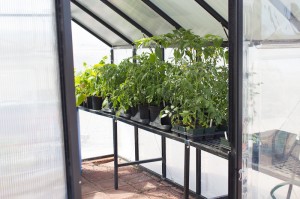
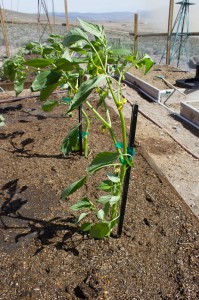
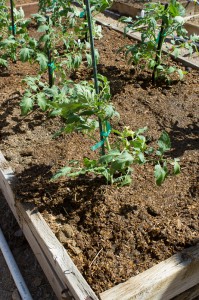
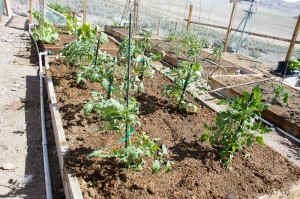
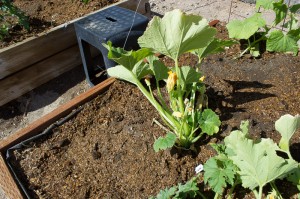
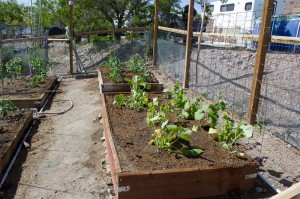
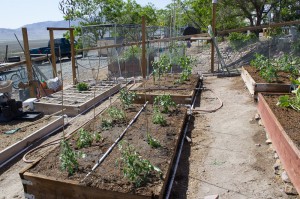
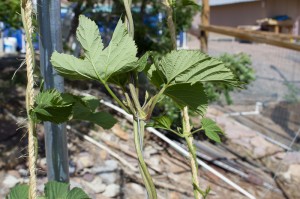
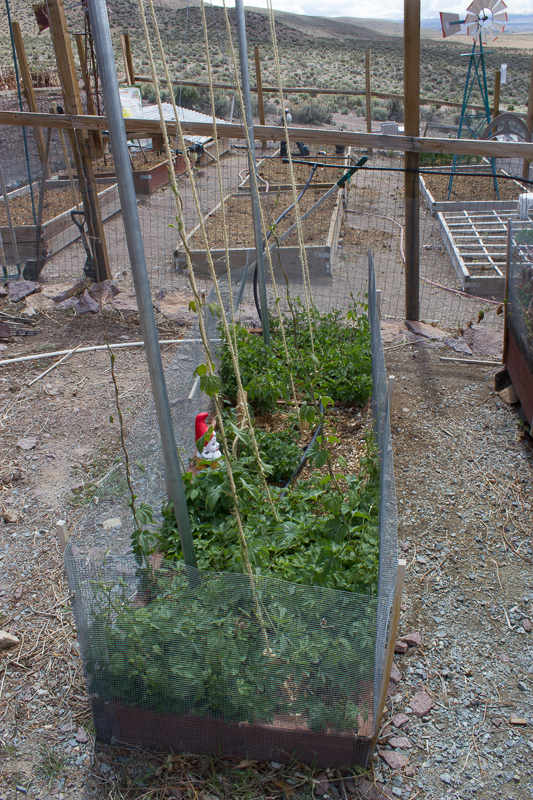
So, I picked a darn windy day to get the plants in the garden. They were all looking really nice in the green house. They were comfy looking and growing big! Now, I’ve got them in the ground, and well, they look a little beat up from the wind.  It should calm down soon, and we’ll have a nice 50+ degree night, so hopefully they’ll perk up soon.

Still have a little more irrigation work to do, and there are some more plants that need to get out there, as well as some herbs and such.  But making some progress.

20140517-IMG_0876 20140517-IMG_0868 20140517-IMG_0878 20140517-IMG_0879 20140517-IMG_0880 20140517-IMG_0881 20140517-IMG_0882 20140517-IMG_0883 20140517-IMG_0890

Fermentation Chamber

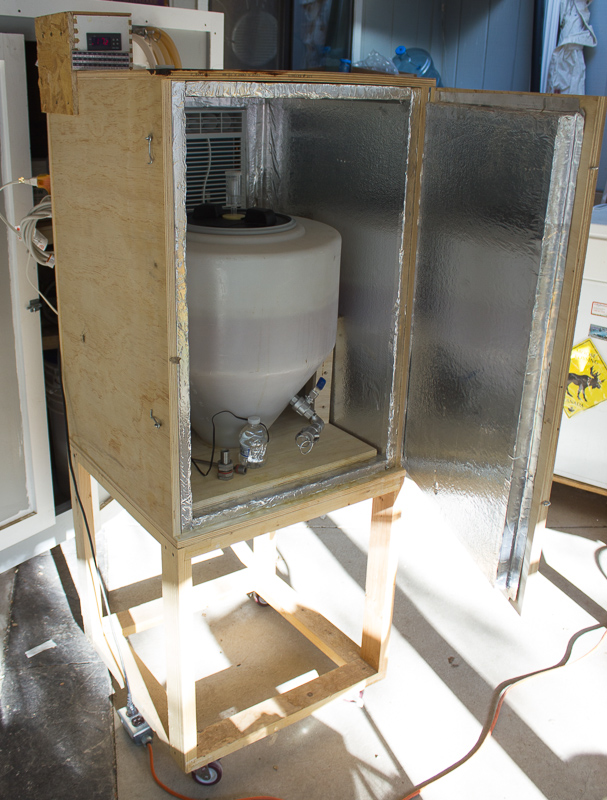
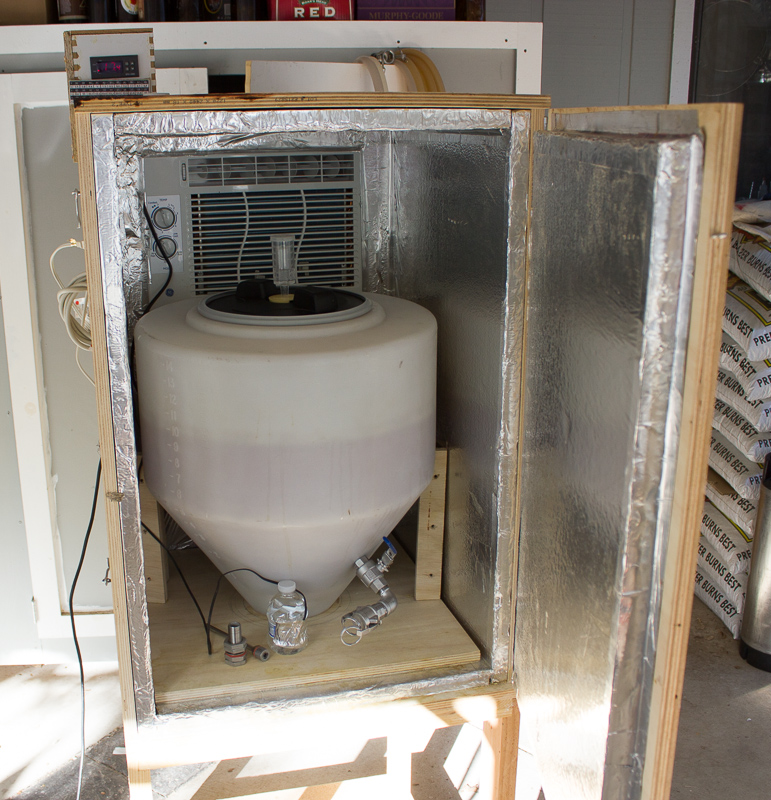
Had a request for some details on my fermentation chamber.

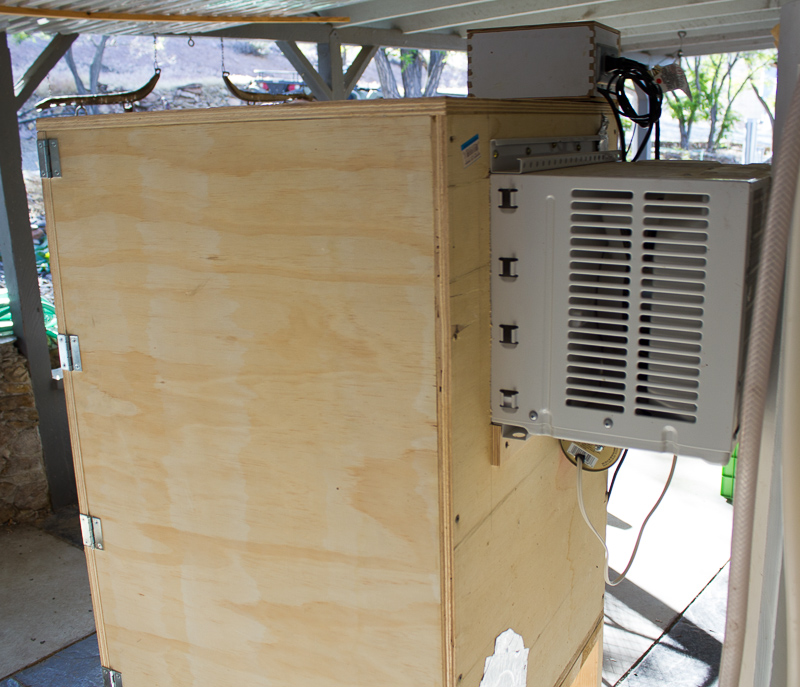
It’s a pretty simple plywood box on a stand and casters, lined with styrofoam insulation board.

I modified the cheapest, smallest window ac unit I could find to move the bulb thermostat from inside the unit, to outside underneath the AC.  Since our nights can be cool here, I also put the bulb inside a tin can with a 7w nightlight to make sure that when the external controller tells it to turn on, it will turn on.

Currently using an stc-1000 temp controller to control both the AC unit and a small heater.  Oddly enough, over the spring, both of those have come on at some point or other.  If the beer gets too cool, fermentation can slow down or stop, so it’s important to maintain an even temp.

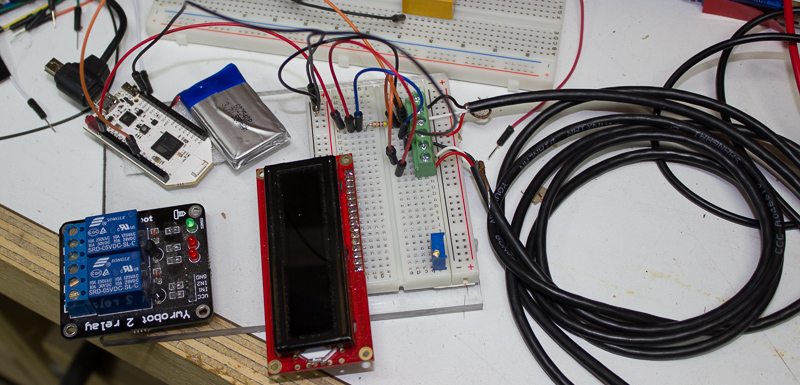
Currently, I’m working on adding a Pinoccio based fermentation controller that will allow me to put the data and control of the unit up on the web.

20140514-IMG_0861 20140514-IMG_0860 20140514-IMG_0859

Pinoccio/Arduino controlled Fermentation Chamber Monitor/Controller

So, Brewing beer here in the desert is a challenge in the summer.  One of the most important things you can do to brew good beer is to make sure that you control the temperature during fermentation.  Too high a temp, and you stress the yeast out and they generate off flavors.

I’ve got a fermentation chamber I made, basically an insulated box on a stand, that uses a small window AC Unit to provide cooling, and a small heating pad to provide warmth in winter.

Right now I use an STC-1000 temperature controller to maintain the temp, and it does a good job, but I would like the ability to monitor and control the temp from the web, as well as the device itself.

So that’s where the Pinoccio (https://pinocc.io/) comes in to play.  It’s a wireless mesh enabled device that makes wireless communications very easy.  It also is built on top of the arduino micoprocessor platform.  This makes it ideally suited for my particular application.

Stay tuned for more progress on the project over the next few weeks.

fermcontmon

Priming Guitar

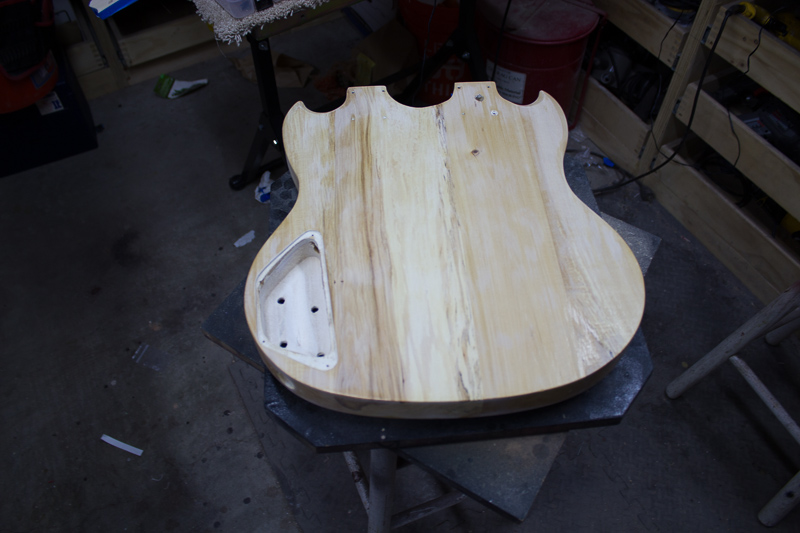
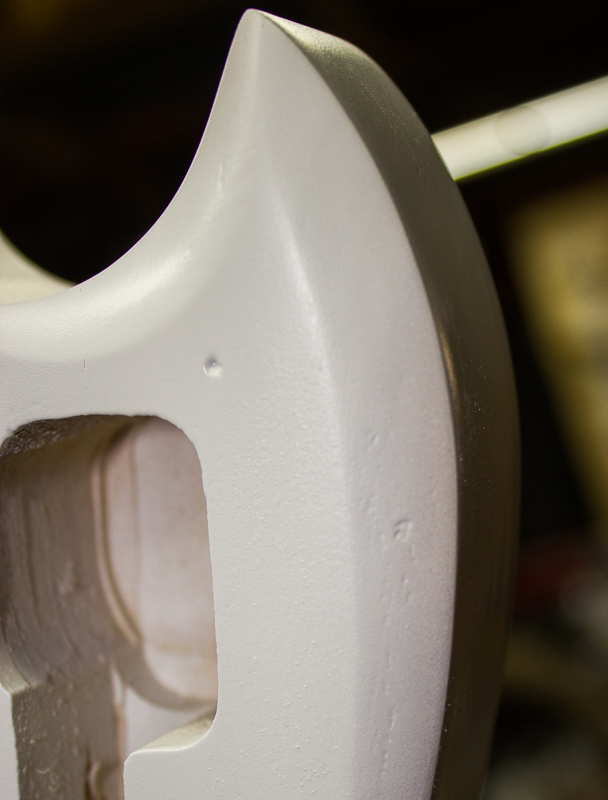
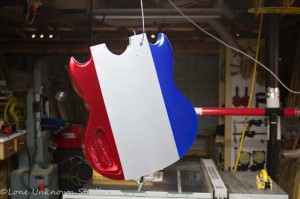
Looks like I have more sanding to do.  I had put a couple of coats of sealer on and sanded it all down, but not good enough.

Once this dries, I’ll pull out the 320 and give it another sanding.  No need to go down to bare wood, but I will sand it and re-prime it until all the little defects disappear, before putting the color coats on.

20140426-IMG_0760 20140426-IMG_0770

My Nemesis, The driveway

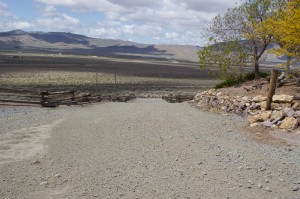
So, Ever since last year when we had frozen gravel dumped on the driveway in big uneven piles, I’ve had a hard time getting the driveway leveled off.  Bob, my 763g model Bobcat, has such a short wheel base that all it seems I do is to move the waves around.

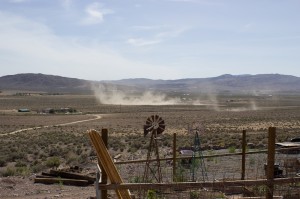
Well, we got .14″ of rain last night, which for us is a significant amount.  It’s also lets me work on the driveway without the dust, and makes the gravel ‘loose’ so that I can work it appropriately.

So I took a big swing at it today and spent about 2.5 hours out there.  I’m sure the neighbors think I’m crazy, but driving bob is fun and this is probably my last shot at it until next fall, or if we get a random thunderstorm this summer.  The delivery trucks do kind of give the driveway a bit of a beating.

I think I moved the waves around a bit, But I might have gotten rid of a few, and I think I reduced the size of a couple.  Oh well.  Maybe next time.

20140426-IMG_0756 20140426-IMG_0757